How to Install Sound Panels for Ceiling to Improve Acoustics?
Improving acoustics in a room can be a challenging task. Installing sound panels for ceiling use is one effective solution. Experts like Dr. Emily Carter, an acoustics specialist, emphasize, "Using sound panels for ceiling can dramatically change how a room sounds."
Proper installation of sound panels for ceiling can reduce echoes and enhance sound quality. It involves understanding room dynamics and placement strategies. Many overlook these details, leading to less effective results. Choosing the right materials is equally important; not all panels perform the same. The color and design can also affect the aesthetic appeal of the space.
Practicing patience during installation is crucial. It may take several attempts to achieve the desired acoustics. Monitoring sound changes after installation can provide valuable insights. Ultimately, sound panels for ceiling require thoughtful planning and reflection. Embrace creativity and don’t be afraid to tweak your approach until it feels just right.

Understanding Sound Panels and Their Benefits for Ceiling Installation
Sound panels for ceilings can dramatically enhance the acoustics of a room. These panels absorb sound waves, reducing echoes and noise. This improvement can make a space feel more inviting and comfortable. When installed correctly, they transform ordinary rooms into sound-friendly environments.
Consider the placement of sound panels. They should be installed where sound waves tend to reflect the most. This includes corners and flat ceiling areas. It's not always easy to find the right spots. Some experimentation may be required.
Tips for installation: Start by measuring your ceiling space. Make sure to have ample panels to cover the key areas. Use mounting hardware suited for your ceiling type. There might be challenges with uneven surfaces. Ensure proper alignment for an aesthetically pleasing look. Don't rush; take your time to get it right.
How to Install Sound Panels for Ceiling to Improve Acoustics?
| Aspect |
Details |
| Purpose of Sound Panels |
To absorb sound and reduce echo in a room. |
| Common Materials |
Fiberglass, foam, fabric-wrapped panels. |
| Installation Height |
Ceiling height should be above 7 feet for effective acoustics. |
| Panel Size |
Common sizes include 2x2 ft, 2x4 ft for ceiling installations. |
| Mounting Options |
Directly to the ceiling, suspended from ceiling mounting hardware. |
| Installation Tools |
Drill, screws, measuring tape, level. |
| Benefits |
Improved sound quality, reduced noise pollution, enhanced privacy. |
Selecting the Right Type of Sound Panels for Your Needs
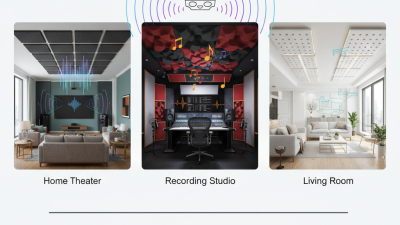
Selecting the right type of sound panels for your ceiling is essential for optimizing acoustics in a room. Research shows that proper sound panels can reduce noise by over 50%. This reduction is particularly crucial in spaces where clarity is needed, such as recording studios or home theaters.
Acoustic panels come in various materials and designs. From fiberglass to foam, each offers unique sound absorption properties. For instance, fiberglass panels typically provide higher absorption for mid to high frequencies. On the other hand, foam panels can be more effective in reducing echo in smaller spaces.
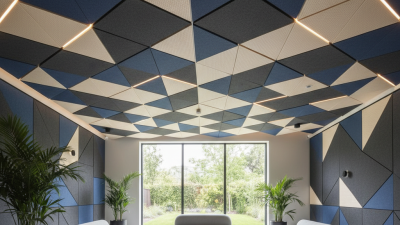
Often, the aesthetic appeal is overlooked. Sound panels can alter the overall look of a room. Many options are available, including colors and textures. However, choosing a panel that fits the decor is not always easy. Some may find the effectiveness compromised due to artistic preferences. Balancing functionality and design requires careful consideration and perhaps a bit of experimentation.
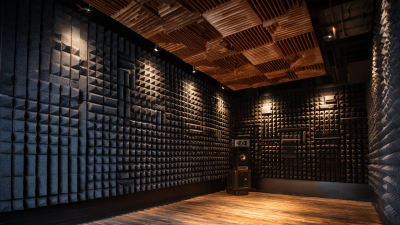
Acoustic Improvement with Sound Panels
Preparing Your Ceiling for Sound Panel Installation
Preparing your ceiling for sound panel installation is crucial for achieving great acoustics. Start by clearing the area. Move furniture away to avoid damage. A clean workspace helps you focus. Be sure to inspect the ceiling for any existing issues. Look for cracks or peeling paint. These can affect the panel's adhesion.
Once the space is cleared, you’ll want to measure the ceiling. Use a tape measure and note any irregularities. This helps in planning panel placement. Keep in mind, not all ceilings are flat. Consider using a level to ensure panels are aligned properly. The placement affects sound absorption significantly.
Tips: Lightly sand any uneven spots before installation. This creates a better surface for adhesion. Consider painting the ceiling to match the panels. A cohesive look can enhance the overall aesthetic. Remember, patience is key. Rushing through this step can lead to mistakes. Slow down and double-check your measurements.
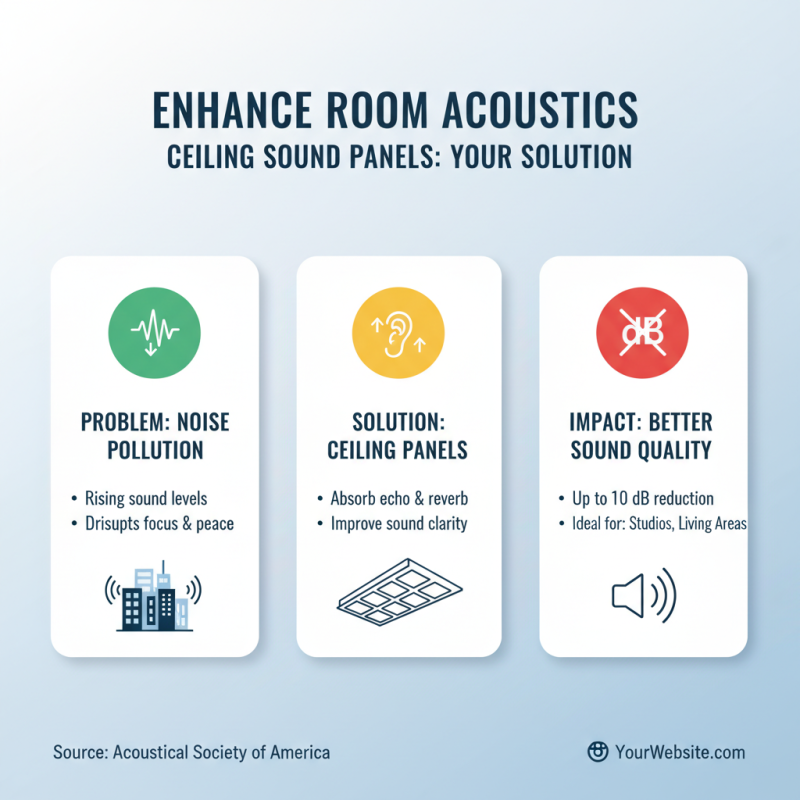
Step-by-Step Installation Process for Ceiling Sound Panels
Installing sound panels on the ceiling is an effective way to enhance acoustics in a room. With noise pollution on the rise, achieving optimal sound quality in spaces like studios or living areas is essential. According to the Acoustical Society of America, improper acoustics can increase sound levels by up to 10 dB, leading to disruptions.
The installation process starts with selecting the right location. Identify areas where sound waves bounce. Use a sound level meter to determine problematic spots. Ensure you have all necessary tools at hand: panels, adhesive, or ceiling mounts. A common oversight is misalignment. Measure twice before cutting or placing panels.
Consider the thickness and density of panels. A report by the National Institute of Standards and Technology suggests thicker panels absorb more sound, especially low frequencies. As you apply the panels, a staggered pattern can create a more balanced sound.
Tip 1: Use a friend to assist. Two sets of hands will make aligning and placing panels easier.
Tip 2: Take frequent breaks. You might get frustrated with placements, and this could compromise your focus.
Always assess your work. Sometimes, panels don’t yield expected results the first time. Experiment with positioning and spacing, and don’t hesitate to make necessary adjustments.